Meet our powerful function to control your client base!
This feature replaces and enriches the typical Find form. You can filter the client list by any storage attribute or their chain. Use all saved clients' info or their actions log during filtration.
This tool is also helpful during marketing activities, audience categorisation, set up targeting, and helps construct the loyalty program.
How to create
Go to the Clients screen by clicking the icon on the left side. Use the +Add a filter button to set the rules:
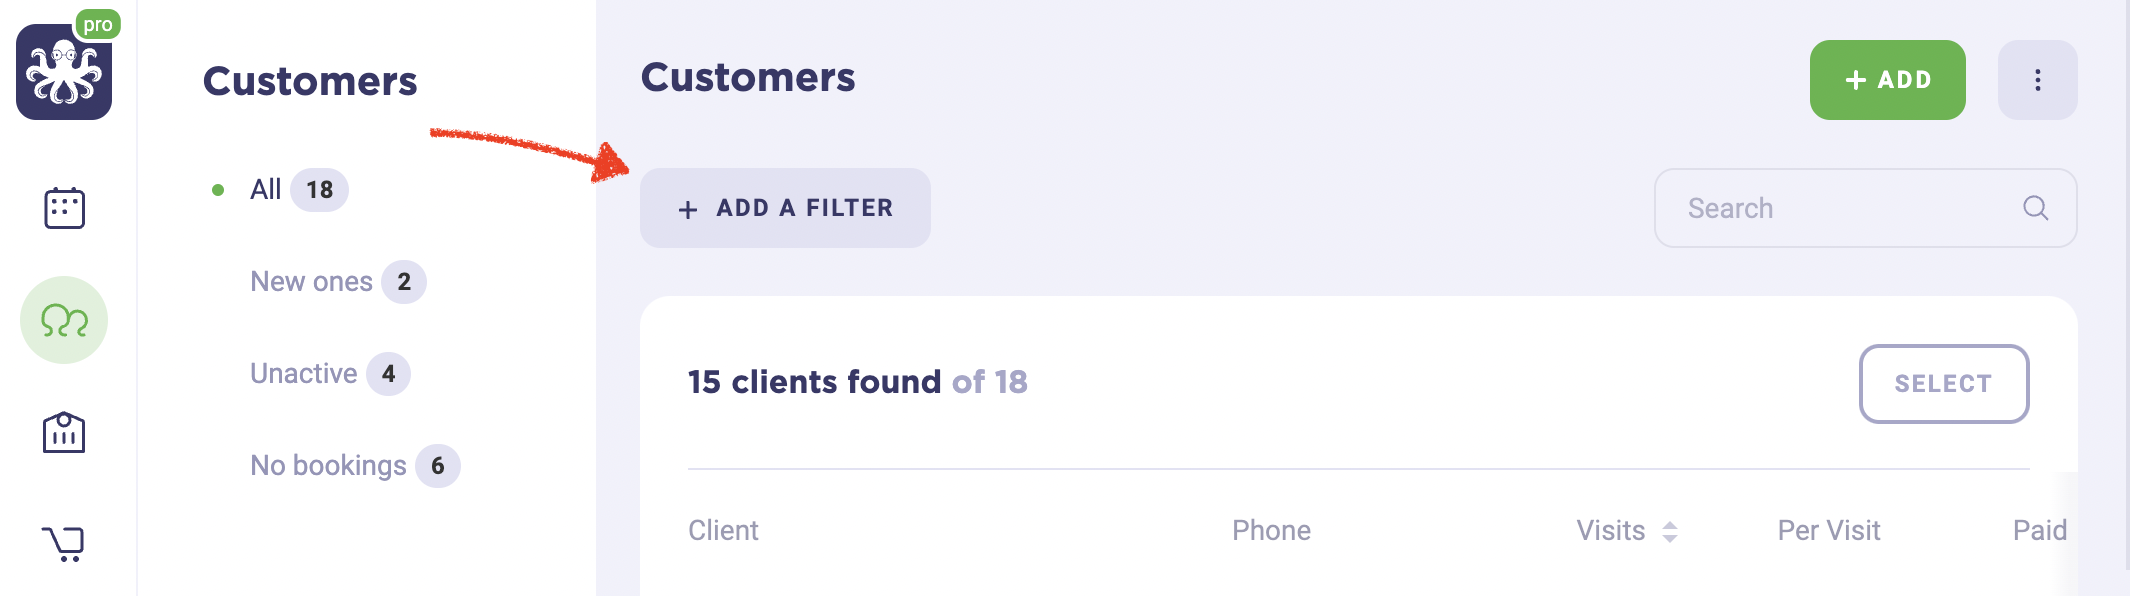
Besides the basic client info, many new analytical parameters are used in the filtration rules. But first, let's take a look at simple search samples.
Basic and additional attributes
To search and filter your clients' base, use the basic properties (Name, Phone number, Birthday) and the extra ones, which you can set additionally for specific aspects (car number for parking, do not drink coffee and so on).
You can search by the partial or whole phrase:
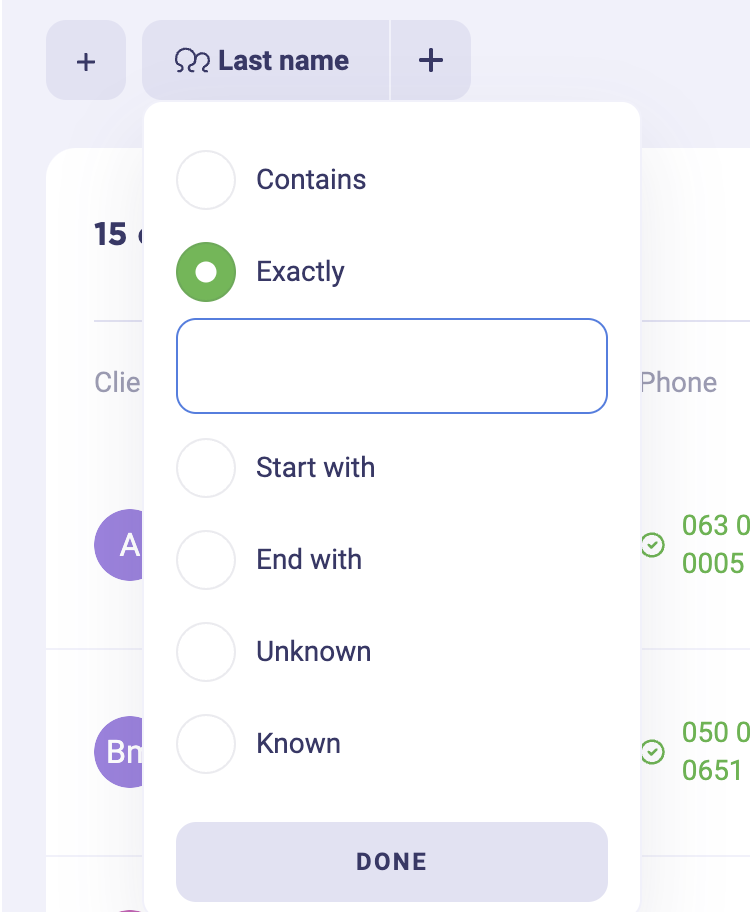
A name and surname search provides value searching and also can show your clients with saved name/surname or without them.
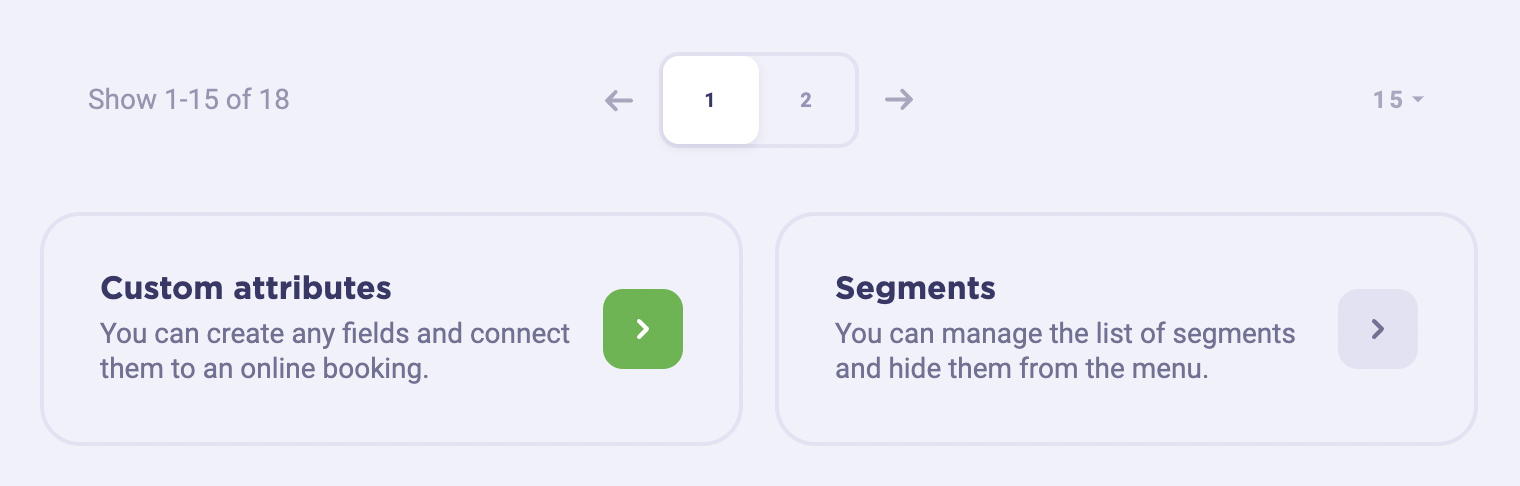
The page to set the additional attributes are in the Business settings – Data – Custom attributes. The quick link to this page is at the bottom. Here you can create any new fields to keep important appointment data.
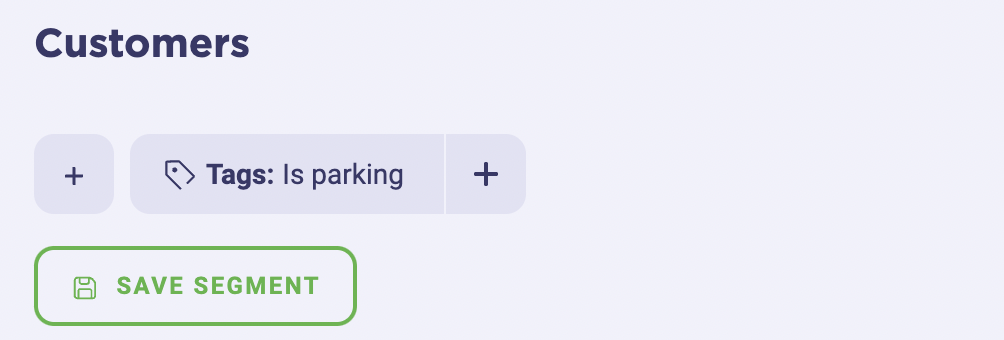
Tags
A handy tool which doesn’t need attribute customisation is Tags. They are used directly in the client profile. Click on the "add tag" button, put a new value or choose previously added.
Tags are removed when any client no longer uses them.

Use tags to find the client group with the selected parameter quickly:
Extended analytics
As the clients use your services, the system accumulates data for analytics and even for behaviour predicting. Available options to group your clients are:
based on previous visits
- Service – selects persons who use specific service.
- Location – filters clients by branches which they visited at least once.
dates
- Created – when the client was created in the system.
- First visit date – when the first appointment was.
- Last appointment date – when the client used EasyWeek for the last time for booking (no matter calendar or booking).
- Last activity date – when the client created a booking with the widget.
- Last visit date – when the client appointment was closed for the last time.
For these attributes, you can use standard operators more/less/equal than certain day selected in the calendar or use "Exactly days ago" (0 for today, 1 – for yesterday, 2 – two days ago and so on).
number of appointments
- Total visits – number of successfully finished bookings.
- Scheduled visits – number of unfinished bookings.
- Total cancelled appointments.
- Frequency of visits per month.
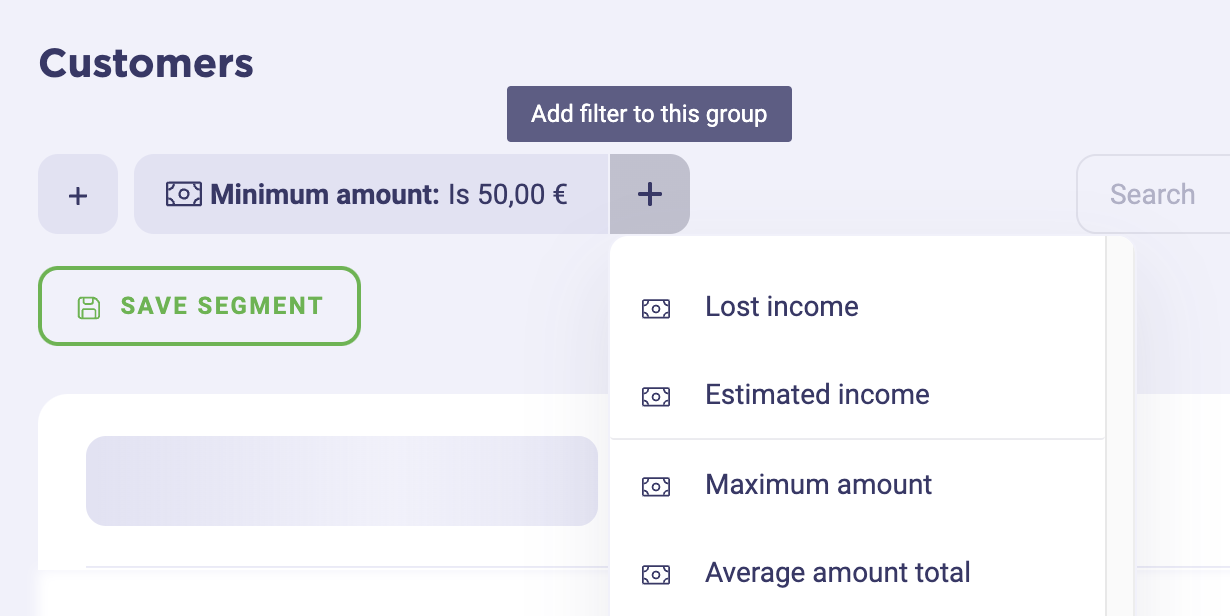
by amounts
- Total income – accumulated sum across all closed bookings.
- Expected income – a sum of all unpaid bookings in the past and future.
- Lost income – a sum of all cancelled bookings.
- Minimum amount – minimal payment among all bookings.
- Maximum amount – maximum payment for booking.
average values
- Frequency of visits per month – total number of visits divided by months with your company,
- Average amount total – the average price for all the bookings,
- Average amount per month – total sum for paid visits, divided by a visited period in months.
- Estimated income – average check multiplied by average visits monthly.
Rules chain
After setting the first filtering parameter, you can add an additional filter by clicking the +Add filter to this group button. These rules can be joined with logical AND (united results) / OR (to search among the first filter results).
EasyWeek allows you to create complex rules sets to filter your client’s base what helpful for detailed analytics.
Saved segments
Every bunch of rules can be saved as a ready search/group template. Its content updates dynamically, and the segment shows you clients that satisfy the rules at the moment.
The list of saved segments and the match count is in the left column under the All clients line.
The counter recalculates near once a day.
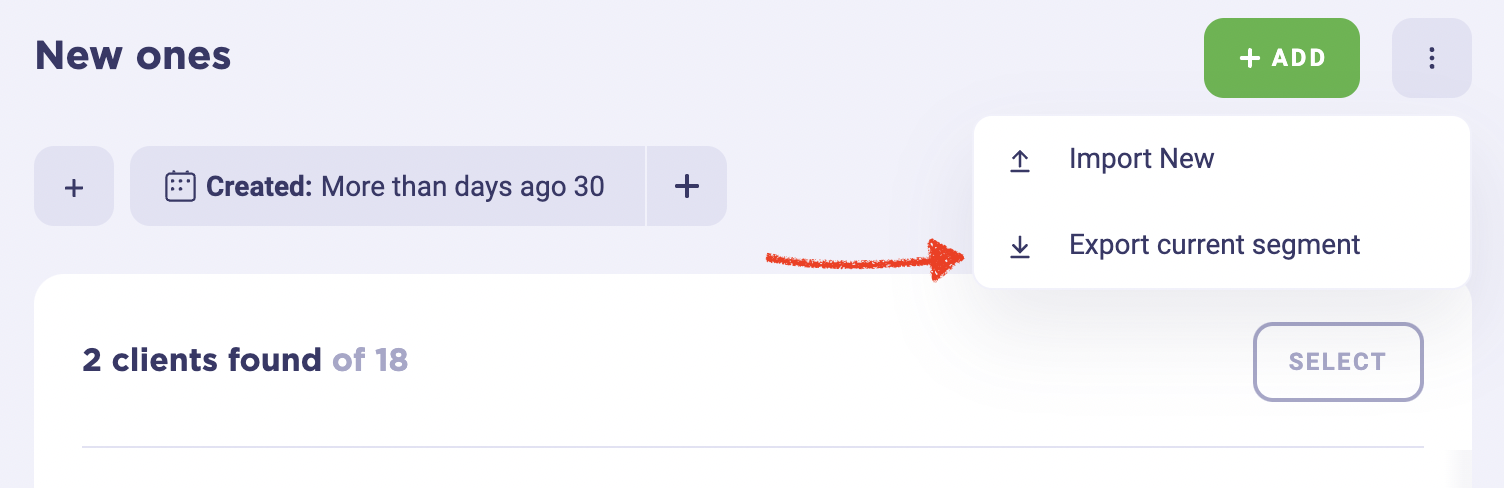
Export
EasyWeek can export every configured segment to the spreadsheet file. Click on the three-dot menu at the right top corner and then "Export current segment":